Retouching the background
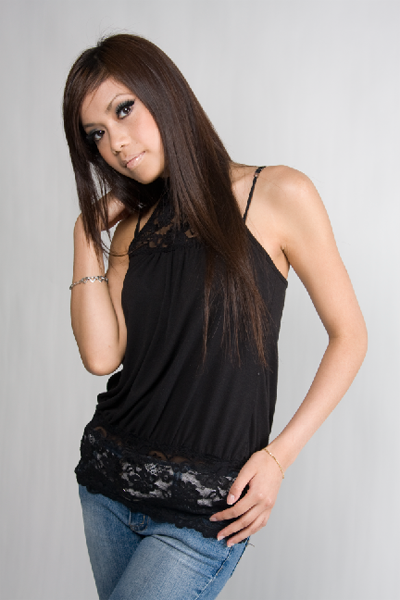
Here is the original image. As a photo it looks fine but it looks flat
and boring. This Photoshop tutorial will show you techniques used to
make the photo have a stronger impact. You can follow this tutorial with
one of your own image or you can use the image below:
Creating the mask
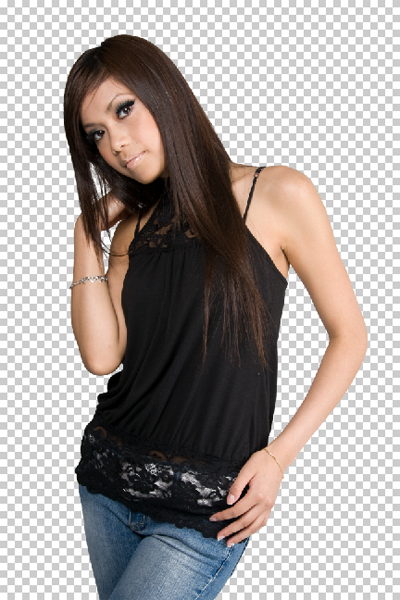
The first step is to isolate the model from the background. I used the
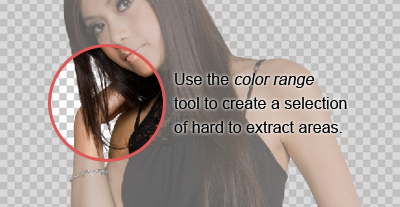
extract and color range tool to create this. First I used the extract
tool (Filter > Extract) but it didn’t work very well for the hair.
I then use the color range tool (Select > Color Range) to select the areas that were hard to extract using the extract tool.


Tidak ada komentar:
Posting Komentar